• Drive distance: 250 km / 10-11 hrs.
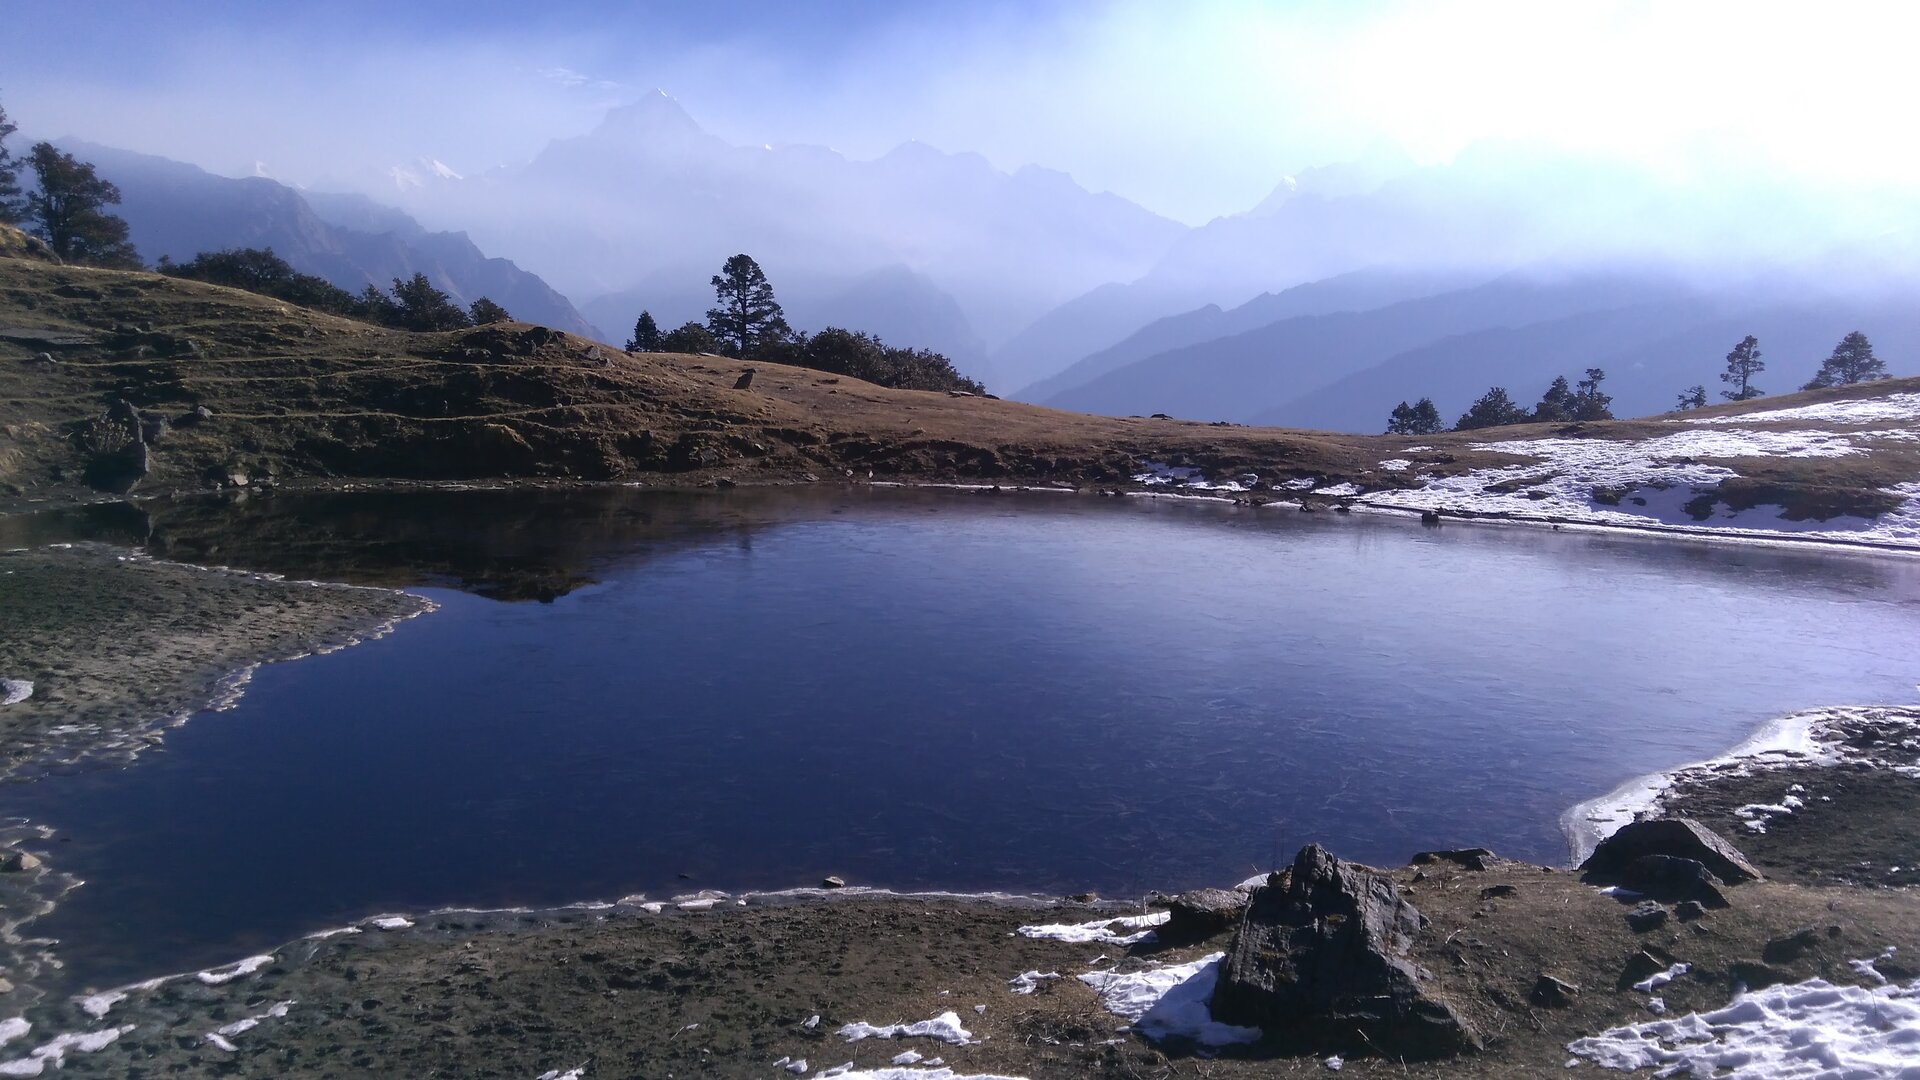
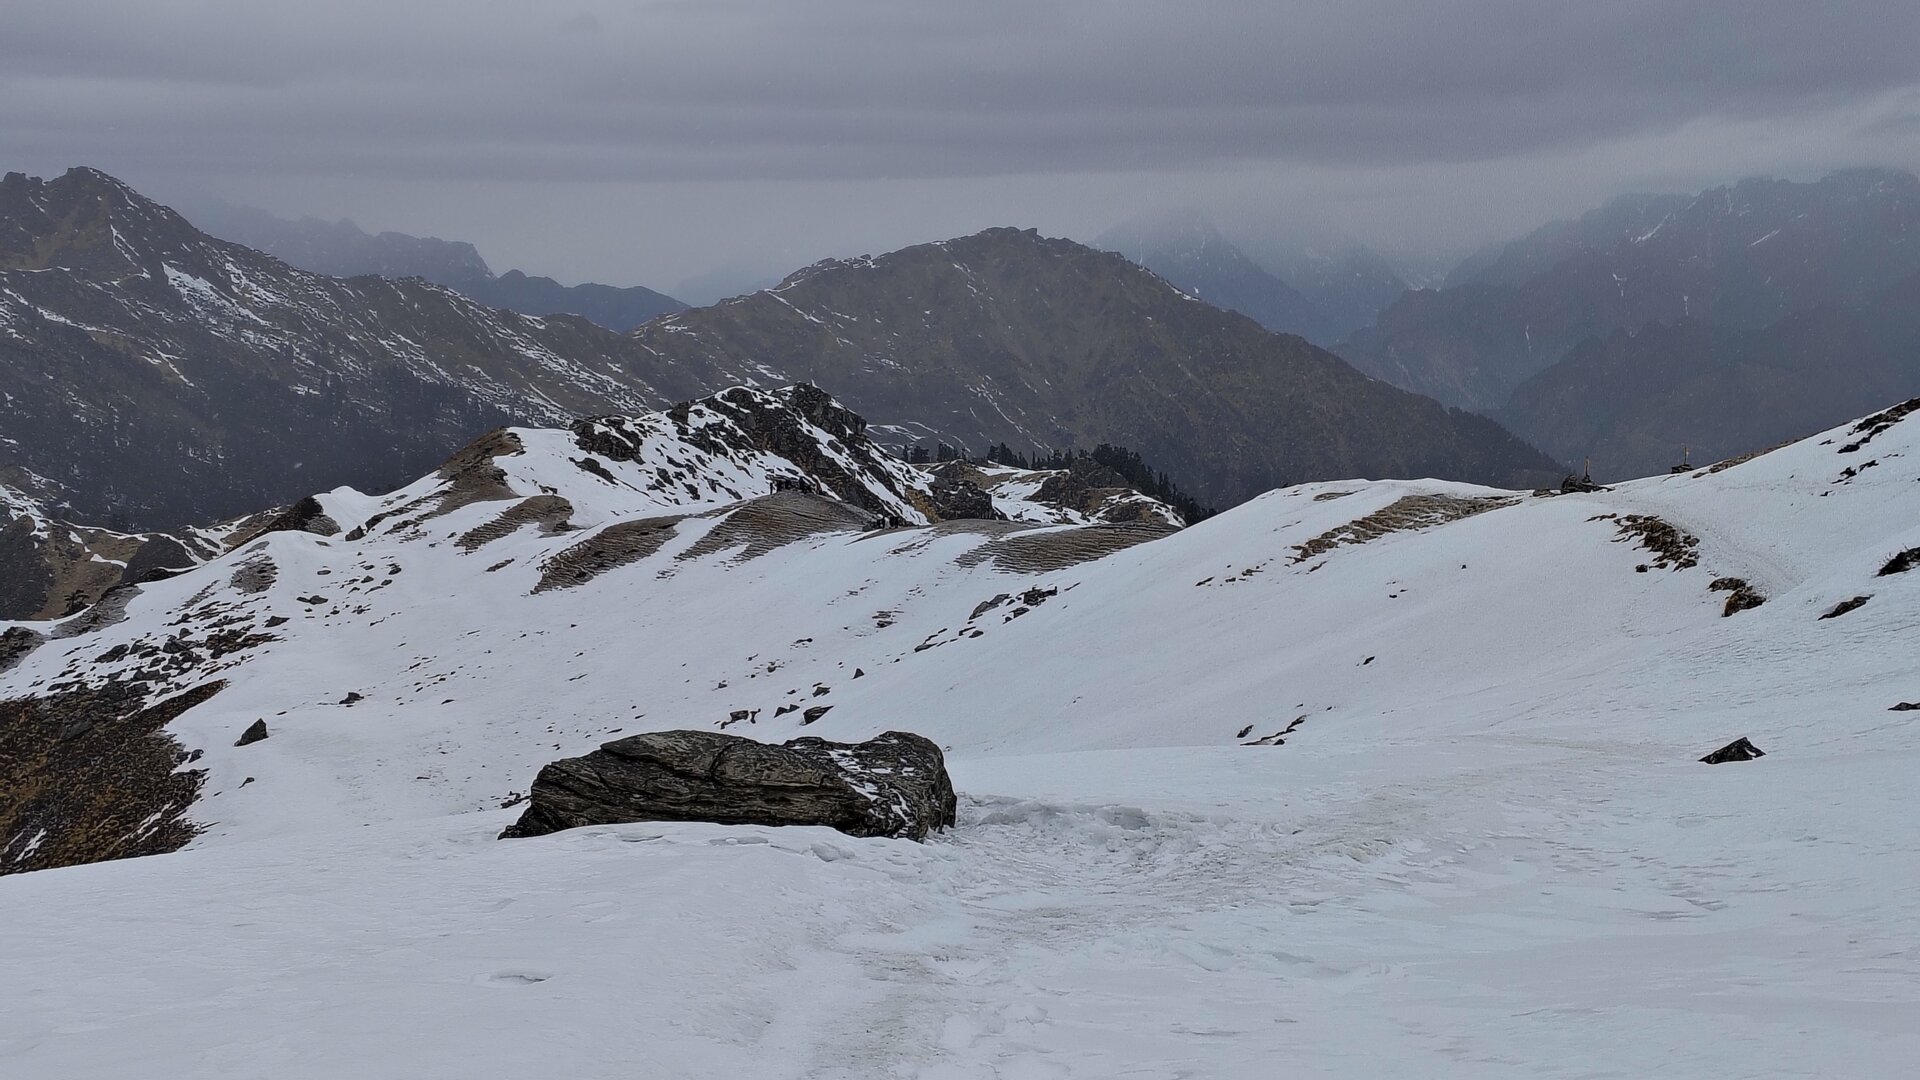
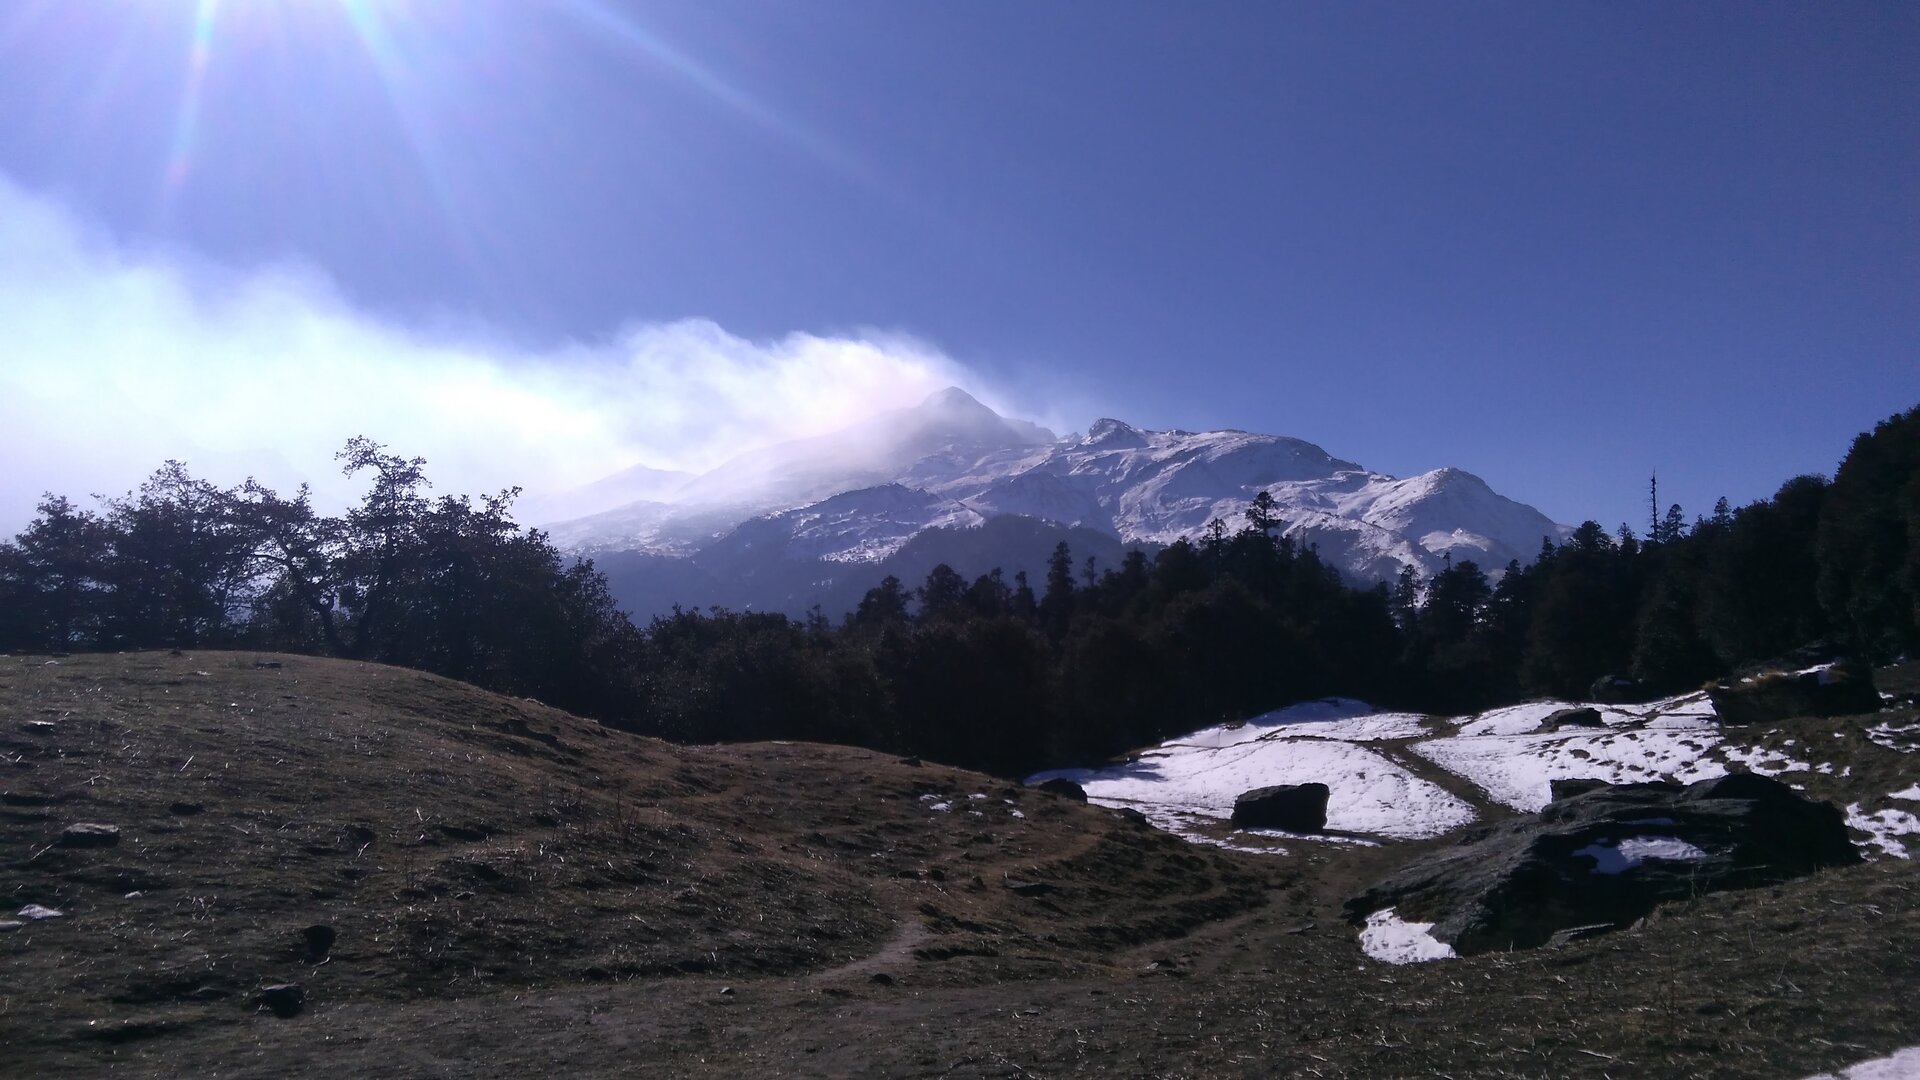
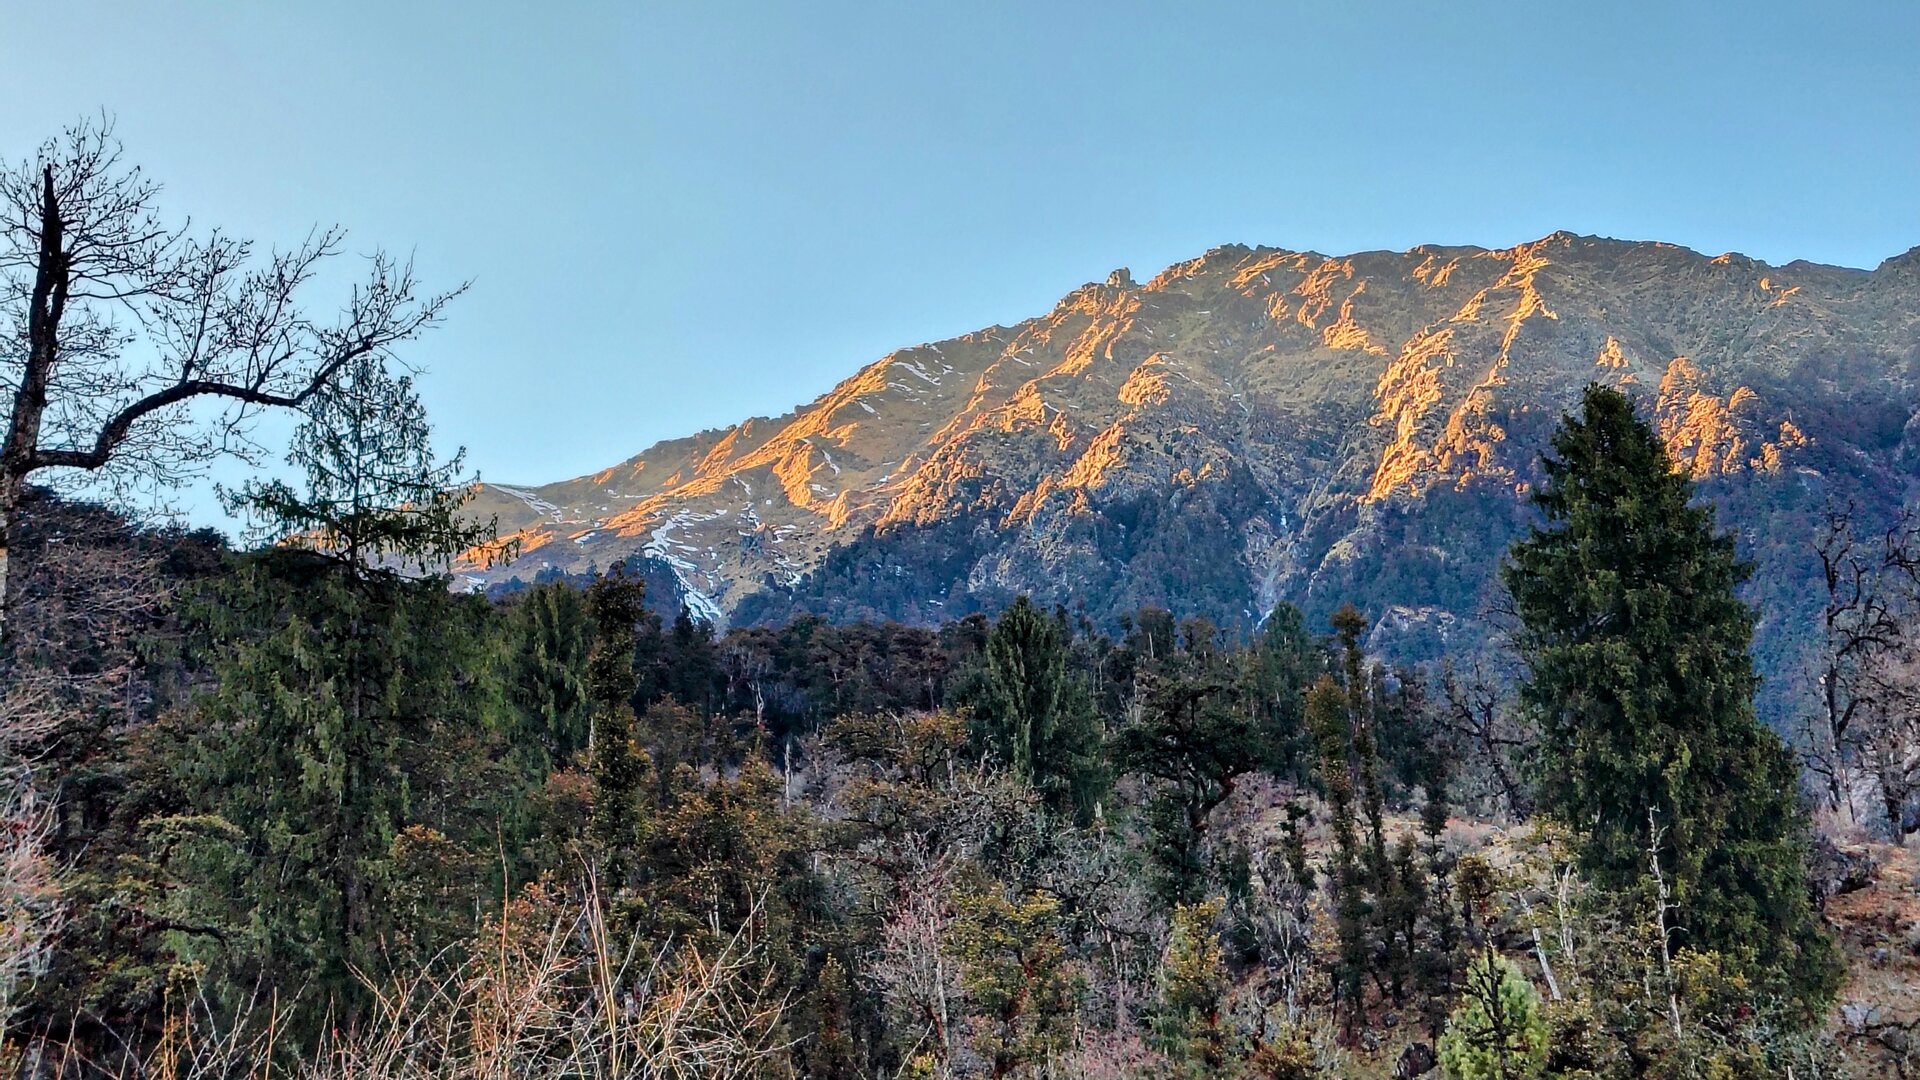
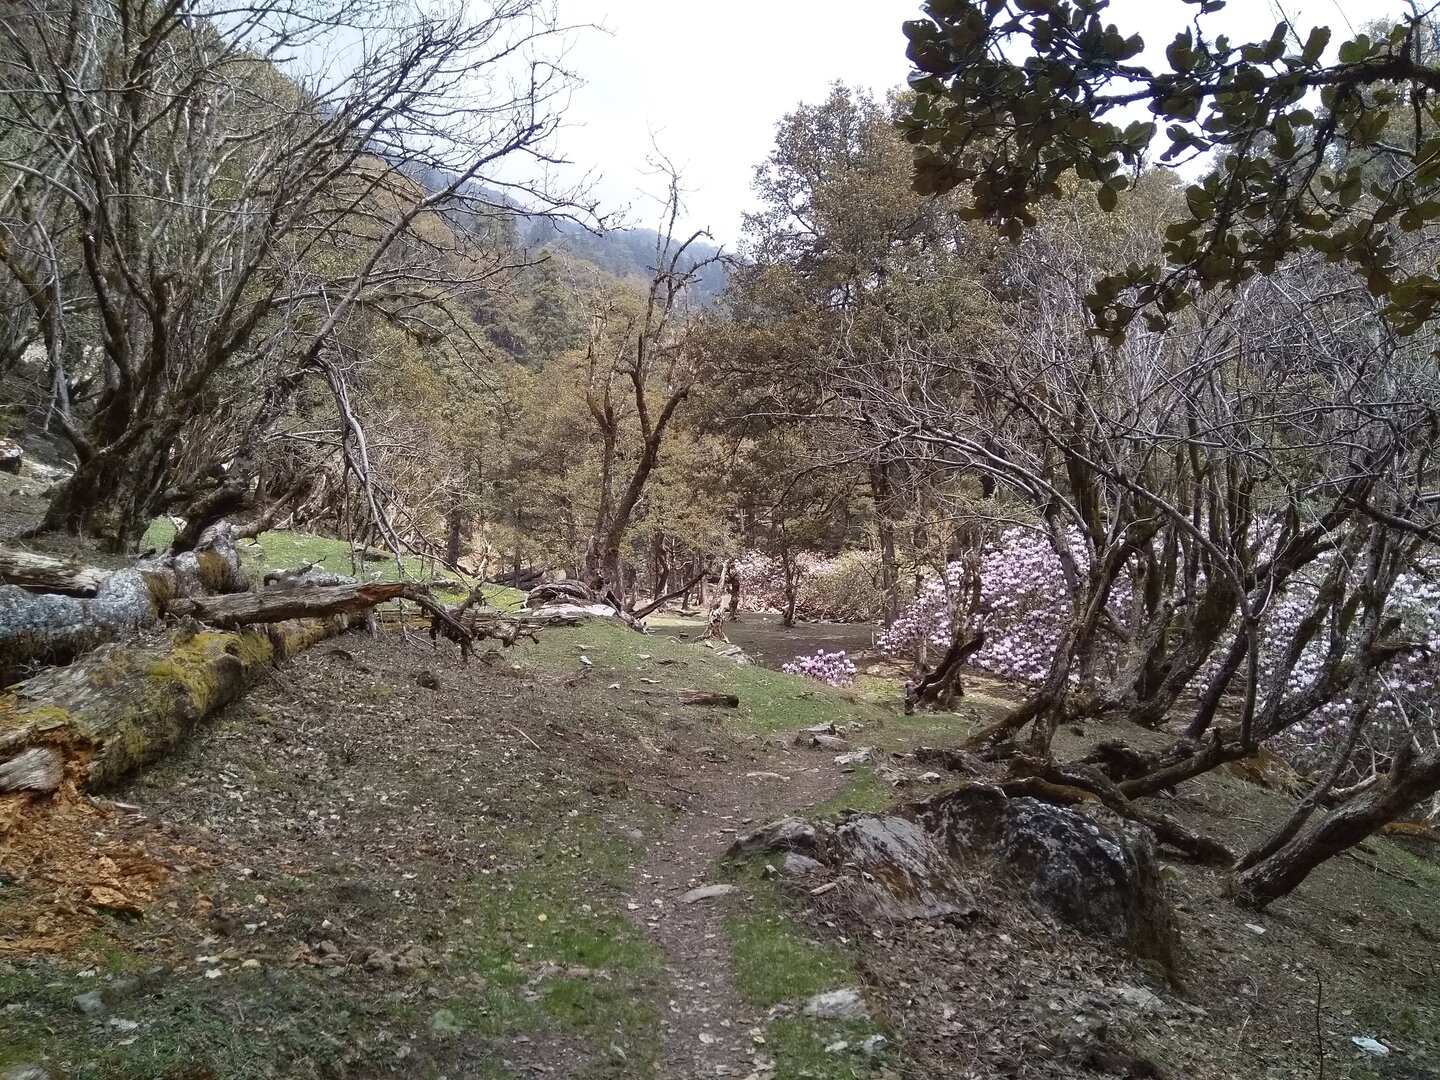
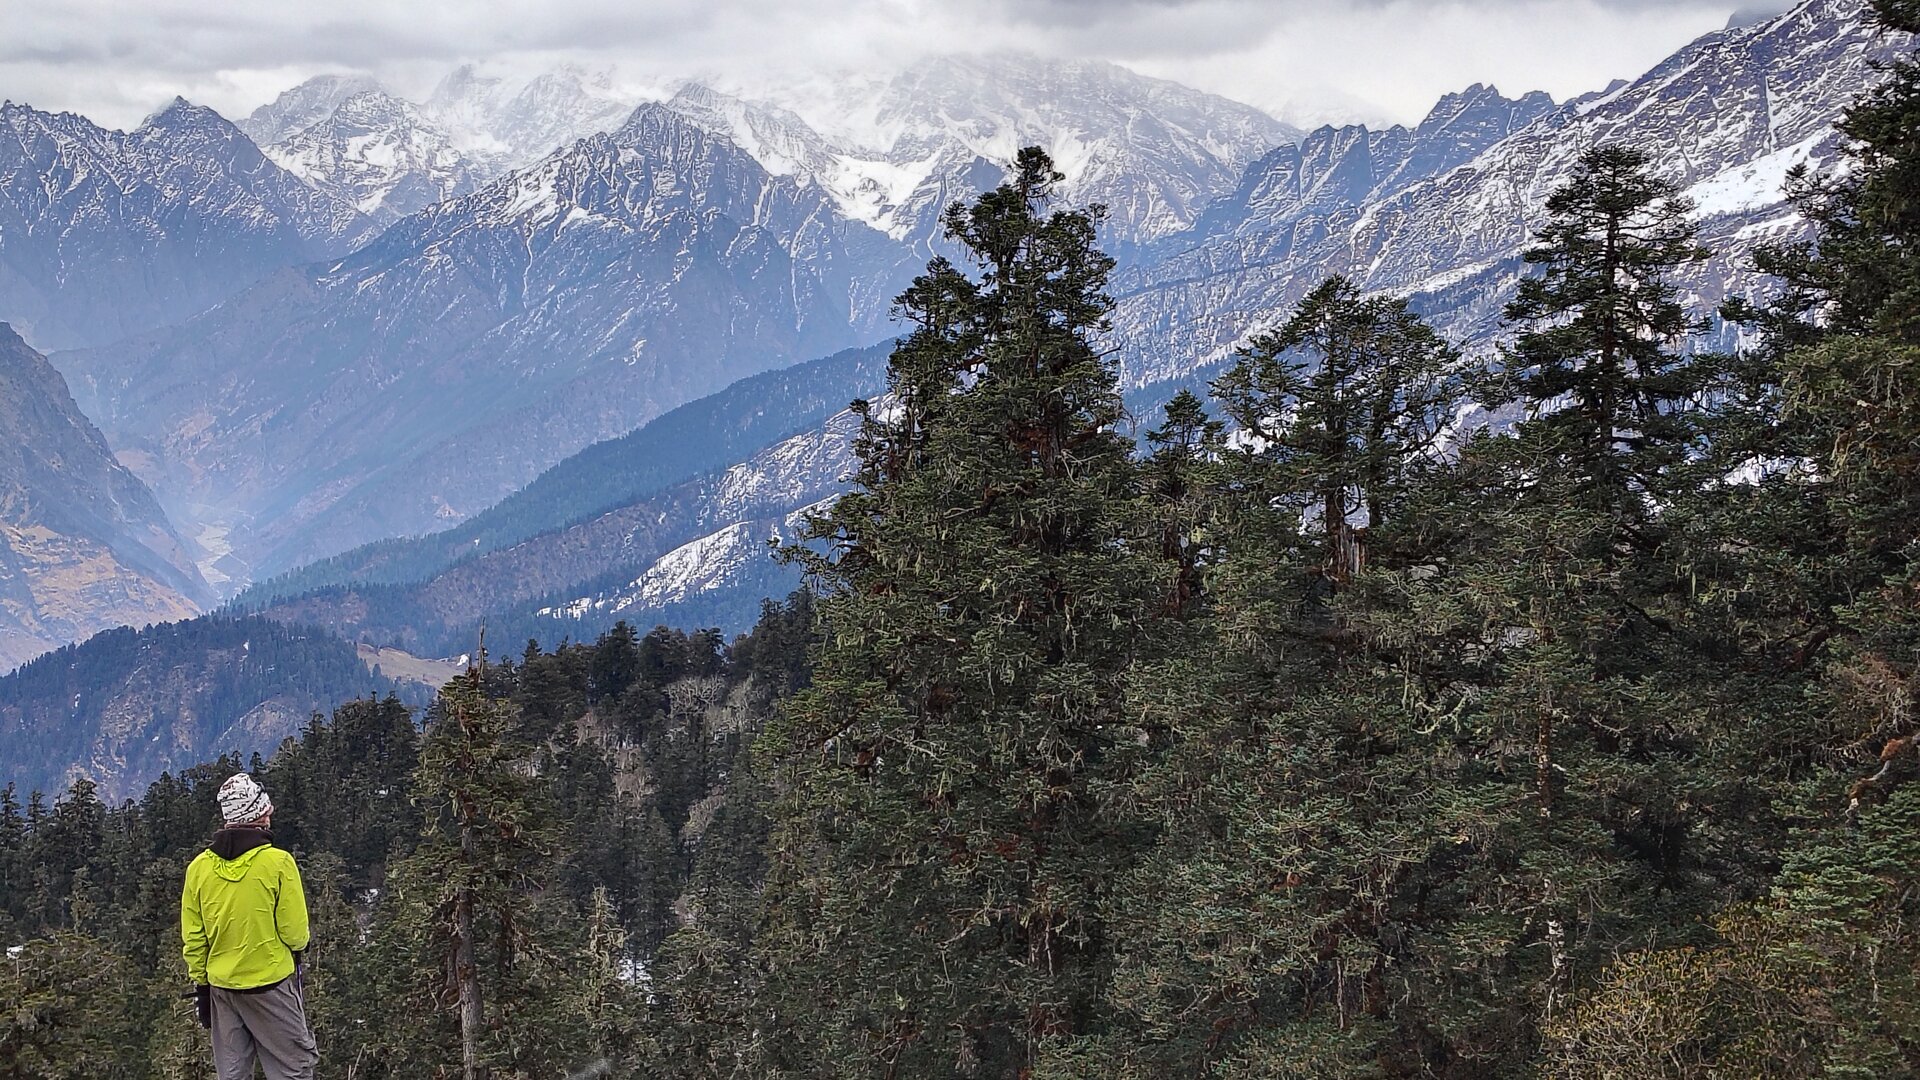
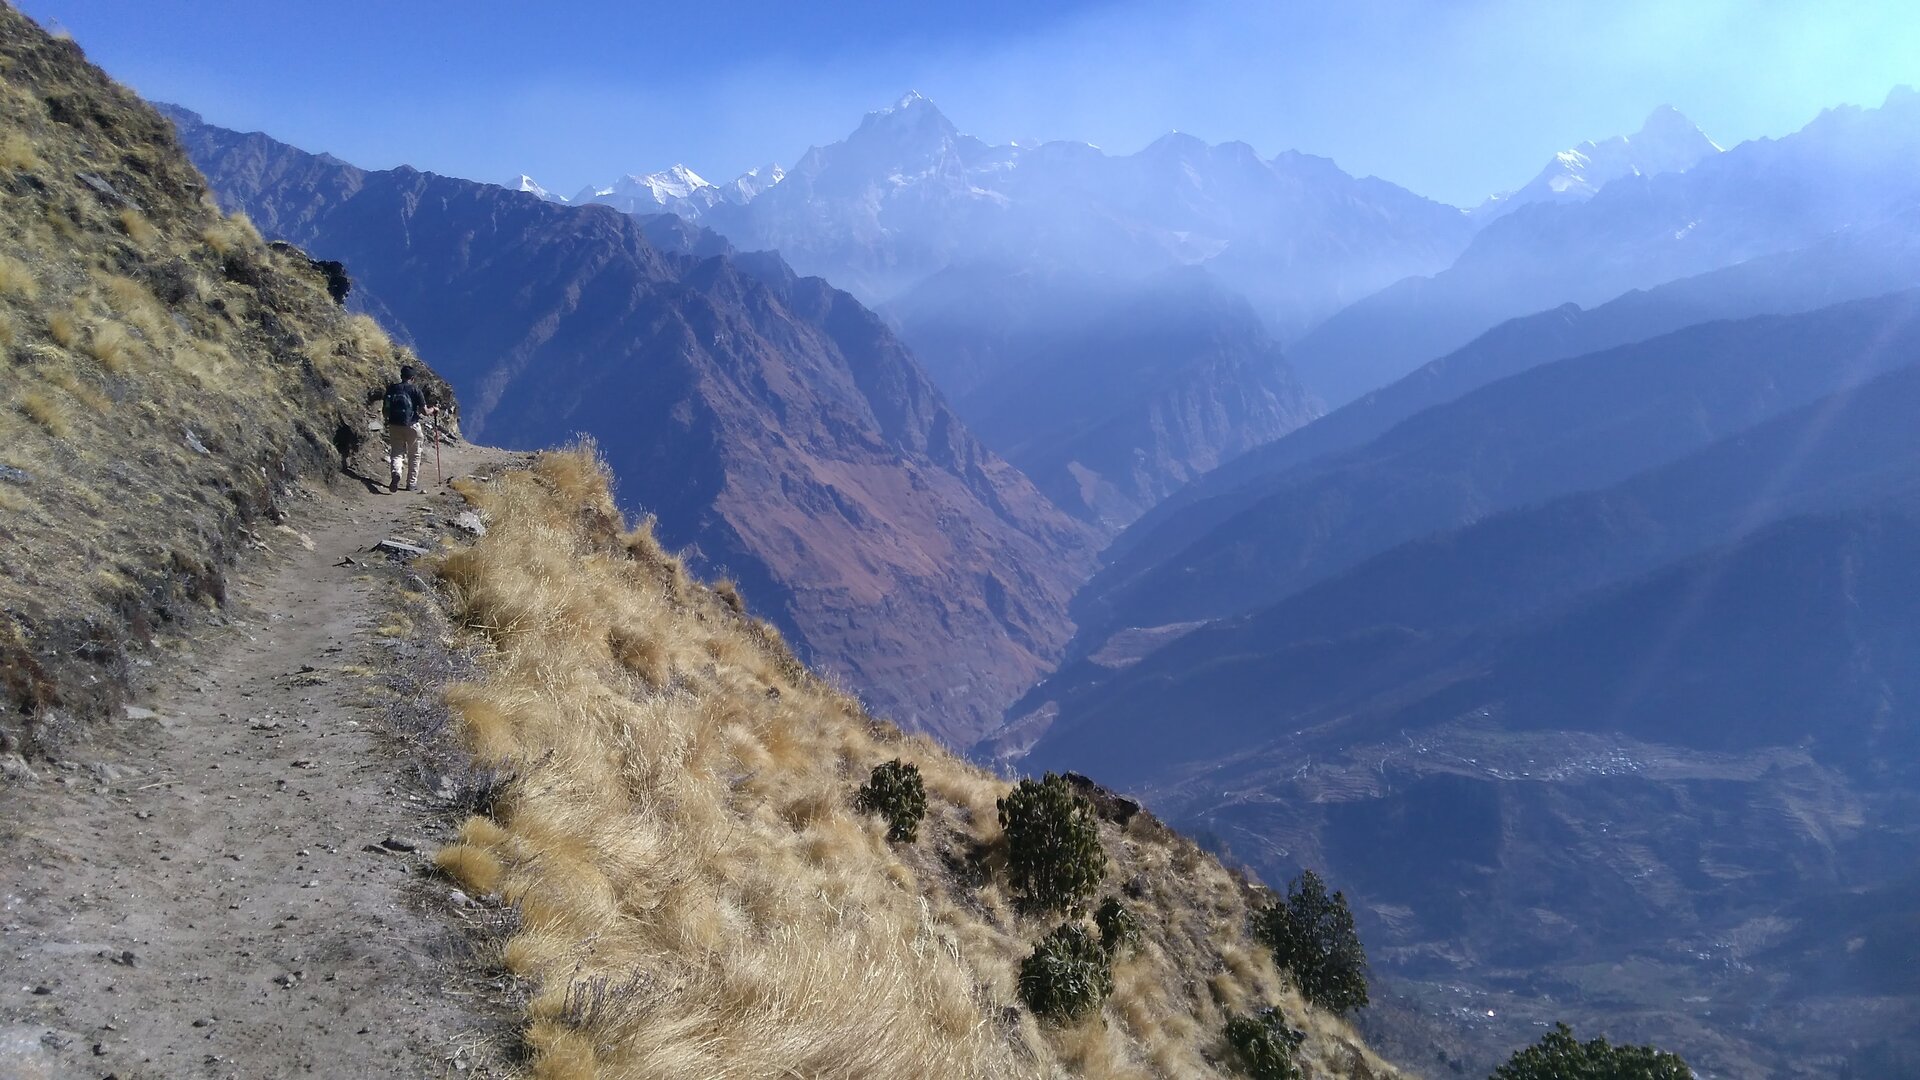
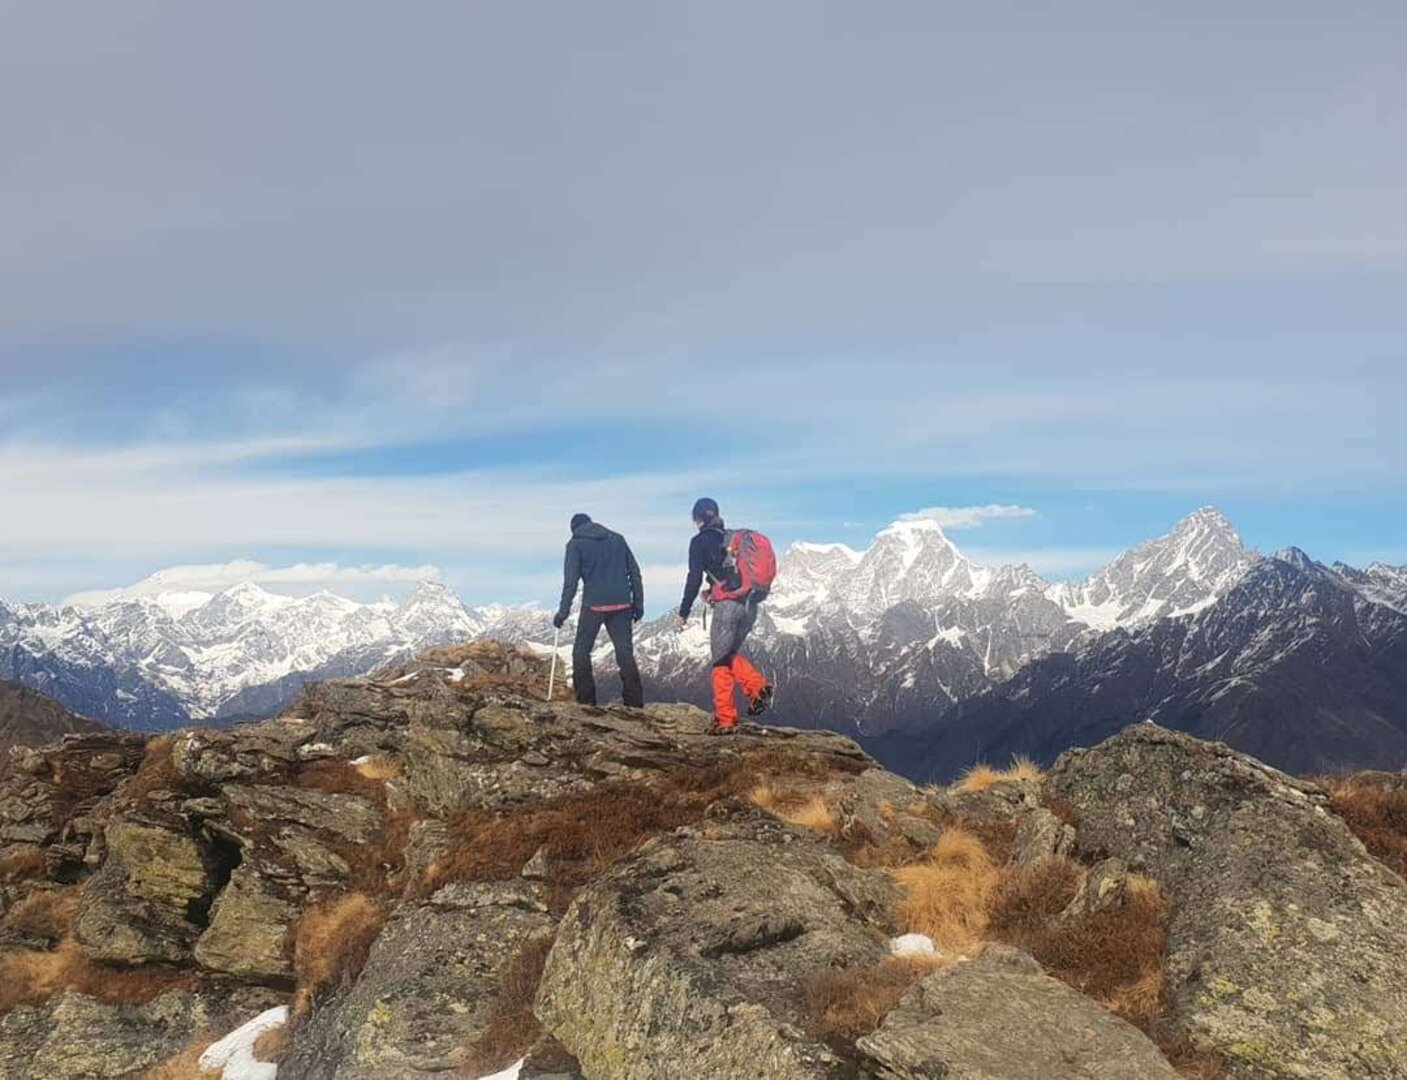
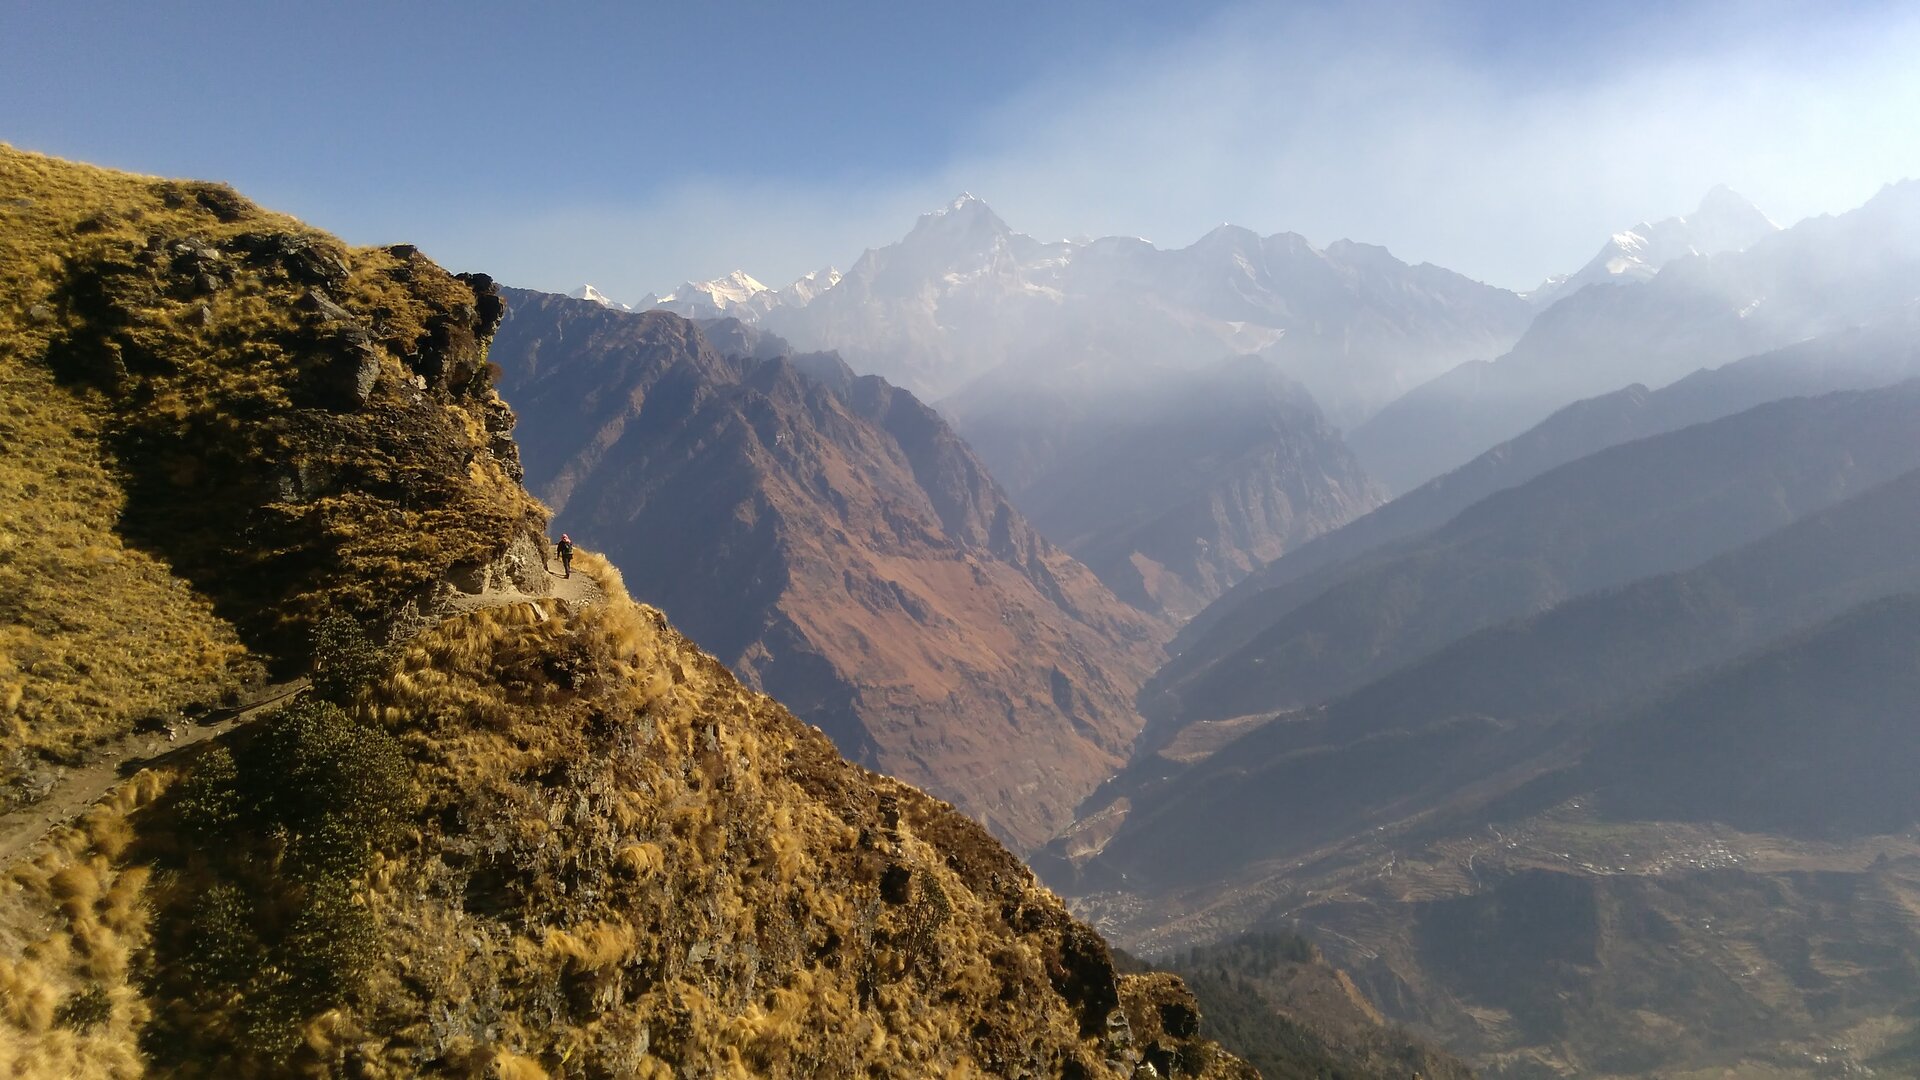
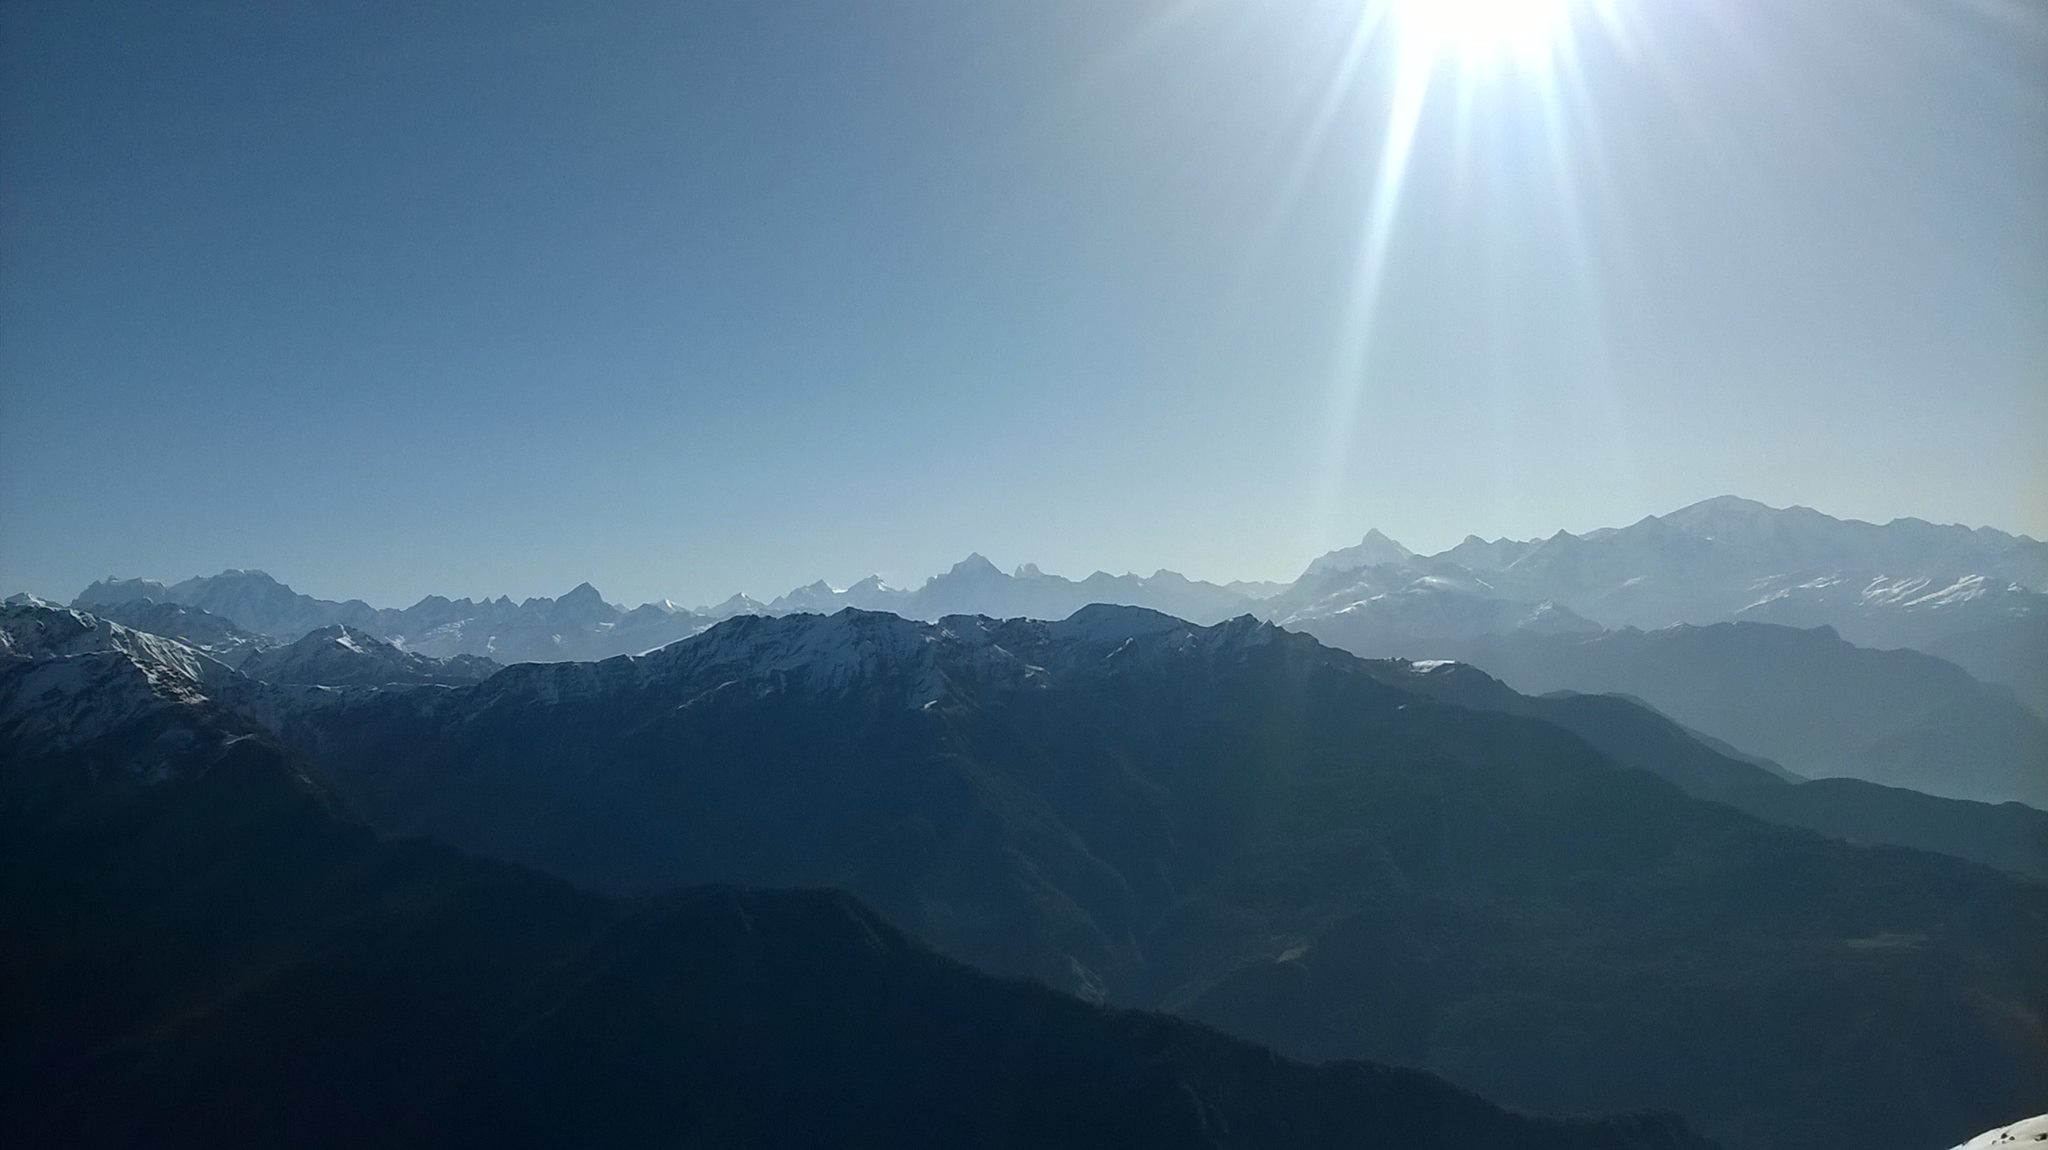
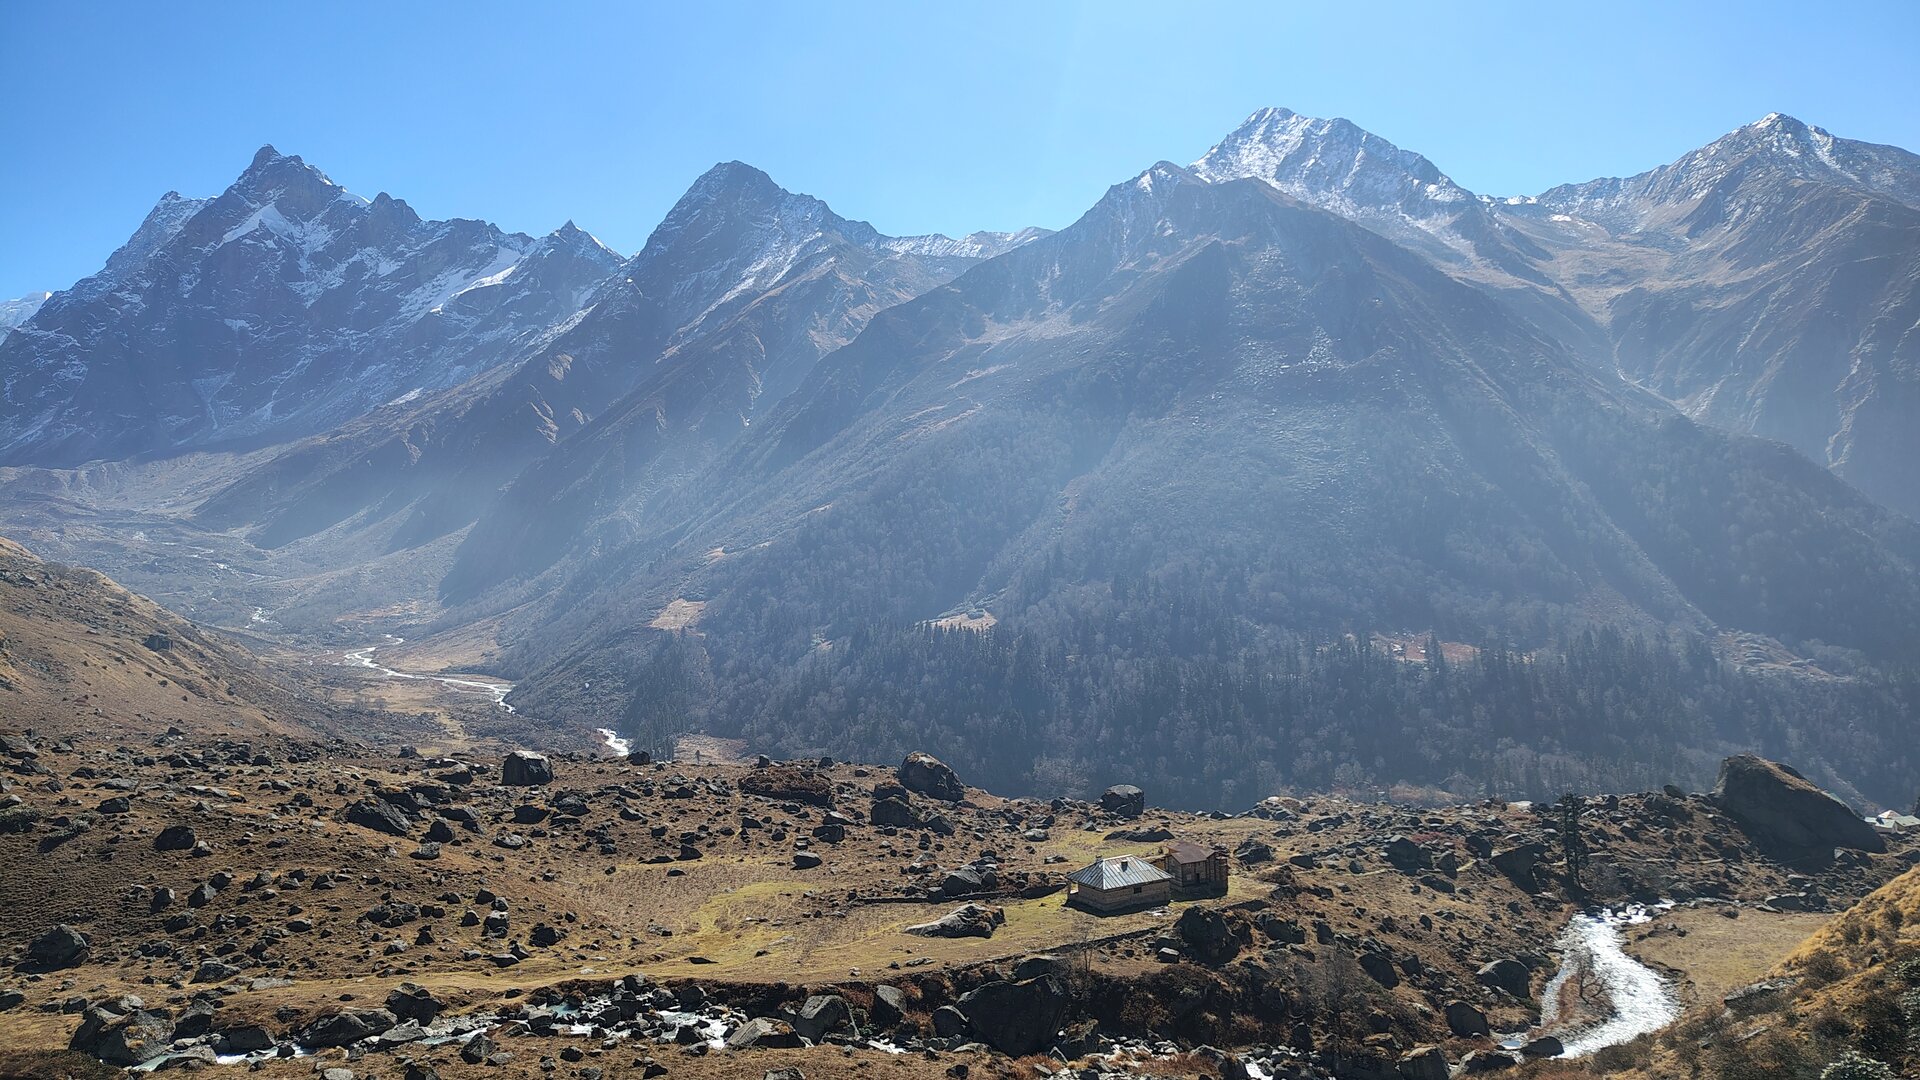
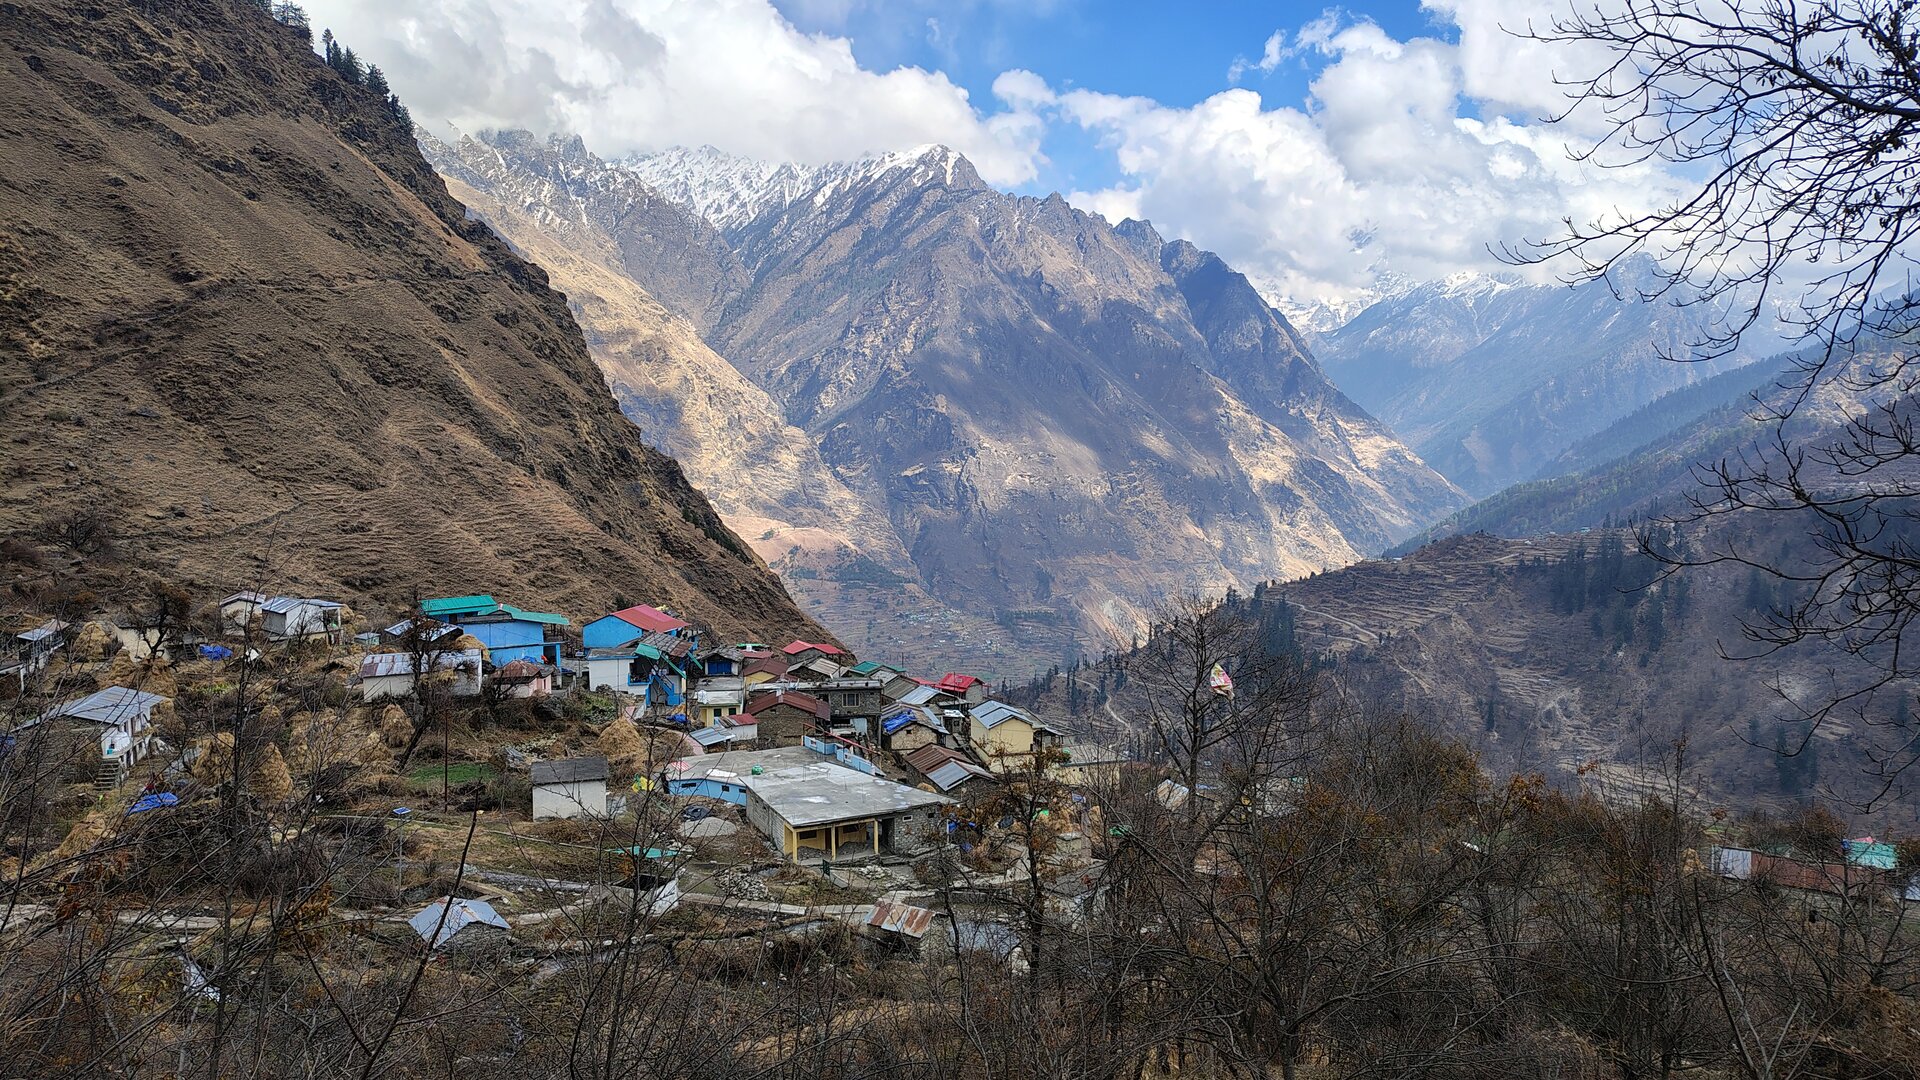
• Your road journey today follows the beautiful Badrinath highway, one of the most scenic routes in Uttarakhand. Though it’s a long 9–10 hour drive to Joshimath, every stretch of the road offers something mesmerizing — from quiet mountain villages to sweeping views of deep valleys and fast-flowing rivers. For most of the drive, the Alaknanda River will be your constant companion. At first, it flows gently beside the road, but as you gain altitude, it grows wilder and more dramatic, carving its way fiercely through steep gorges. The changing moods of the river make this journey feel alive and full of energy. Along the way, you’ll cross the four sacred Prayags, each a holy confluence of rivers that eventually form the Ganga. Devprayag marks the meeting of the Alaknanda and Bhagirathi, where the Ganga officially begins her journey. Rudraprayag follows, where the Mandakini joins in; then Karnaprayag, where the Pindar River merges; and finally Nandaprayag, where the Nandakini meets the Alaknanda. Each of these spots is breathtaking in its own way — places where spirituality and nature blend seamlessly. Though the drive is long, it never feels dull. The scenery keeps shifting — emerald forests, distant snow peaks, hanging bridges, and small hillside temples — all adding to the charm of the Himalayas. Keep your camera handy.
• Your road journey today follows the beautiful Badrinath highway, one of the most scenic routes in Uttarakhand. Though it’s a long 9–10 hour drive to Joshimath, every stretch of the road offers something mesmerizing — from quiet mountain villages to sweeping views of deep valleys and fast-flowing rivers. For most of the drive, the Alaknanda River will be your constant companion. At first, it flows gently beside the road, but as you gain altitude, it grows wilder and more dramatic, carving its way fiercely through steep gorges. The changing moods of the river make this journey feel alive and full of energy. Along the way, you’ll cross the four sacred Prayags, each a holy confluence of rivers that eventually form the Ganga. Devprayag marks the meeting of the Alaknanda and Bhagirathi, where the Ganga officially begins her journey. Rudraprayag follows, where the Mandakini joins in; then Karnaprayag, where the Pindar River merges; and finally Nandaprayag, where the Nandakini meets the Alaknanda. Each of these spots is breathtaking in its own way — places where spirituality and nature blend seamlessly. Though the drive is long, it never feels dull. The scenery keeps shifting — emerald forests, distant snow peaks, hanging bridges, and small hillside temples — all adding to the charm of the Himalayas. Keep your camera handy.